

Finishing a pair of Podform3D foot orthotics is a short mechanical workflow: activate the pre-applied adhesive on the top cover, lightly warm the printed shell, press the two surfaces together, trim the overhang, and grind only when the patient fitting requires an adjustment. A practiced operator can complete the basic finishing work in under two minutes.
I have used this process in my clinic for years. It looks more complicated than it is because clinicians often associate orthotic finishing with a full laboratory bench. This method uses a pre-glued, pre-cut cover and removes most of that fabrication work.
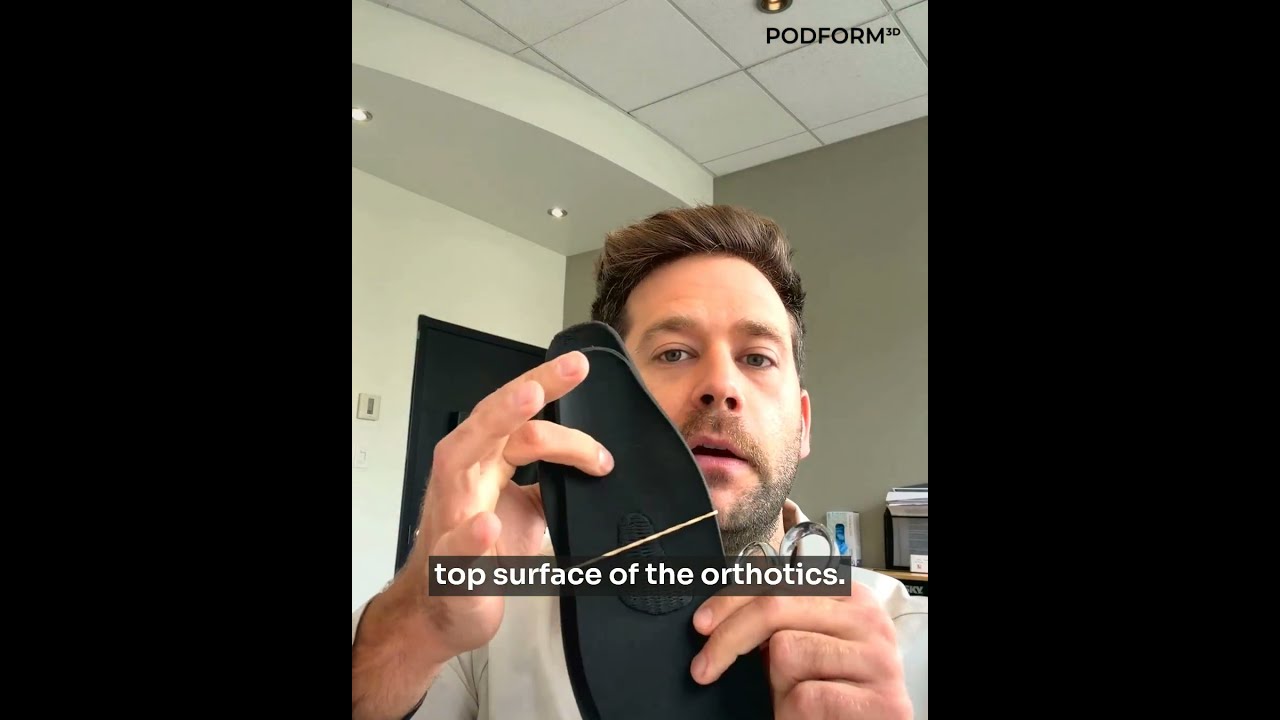
What you need
- A pre-glued, pre-cut top cover. Pre-cut matters because you only trim a small overhang at the end.
- Scissors or a suitable trimming knife.
- A standard clinic heat gun.
- A grinder or rotary tool for fitting adjustments, not routine finishing.
You do not need a press, vacuum former, clamping jig, spray adhesive, or curing station for this workflow.
Step 1: heat the top cover to activate the adhesive
Move the heat gun evenly over the glued side of the top cover until the pre-applied adhesive reaches the activation point specified by its supplier. You are activating adhesive that is already present, not adding glue.
Keep the heat moving. Concentrating it in one place can damage the cover, while a cold patch can weaken the bond and create an edge that lifts later.
Step 2: lightly warm the top surface of the printed shell
Pass the heat gun over the top surface of the shell using the temperature and exposure guidance for the printed material. The goal is to warm the bonding surface, not reshape the orthotic.
A warm shell does not pull heat out of the activated adhesive as soon as the two surfaces meet. Skipping this step is a common cause of a weak bond.
Step 3: press the cover and shell together
Position the cover on the shell and press from the middle outward. This pushes air toward the perimeter instead of trapping it under the cover.
With the cover adhesive activated and the shell warmed before contact, there is no routine need to keep heating the assembled orthotic. Press it firmly and evenly while the surfaces are receptive to bonding.
Step 4: trim the cover around the shell
Use scissors or a suitable knife to remove the small overhang around the perimeter. Because the cover arrived pre-cut, you are trimming the final edge rather than shaping a cover from a full sheet.
The orthotic can be ready for fitting at this point. There is no mandatory sanding, edge-sealing, or cosmetic finishing pass when the edge is already clean.
Step 5: grind only when the fitting requires it
Treat the grinder as a fitting tool, not a mandatory finishing step. If the patient reports an edge catching, excessive width, or a localized pressure point, make the smallest appropriate adjustment and check the fit again.
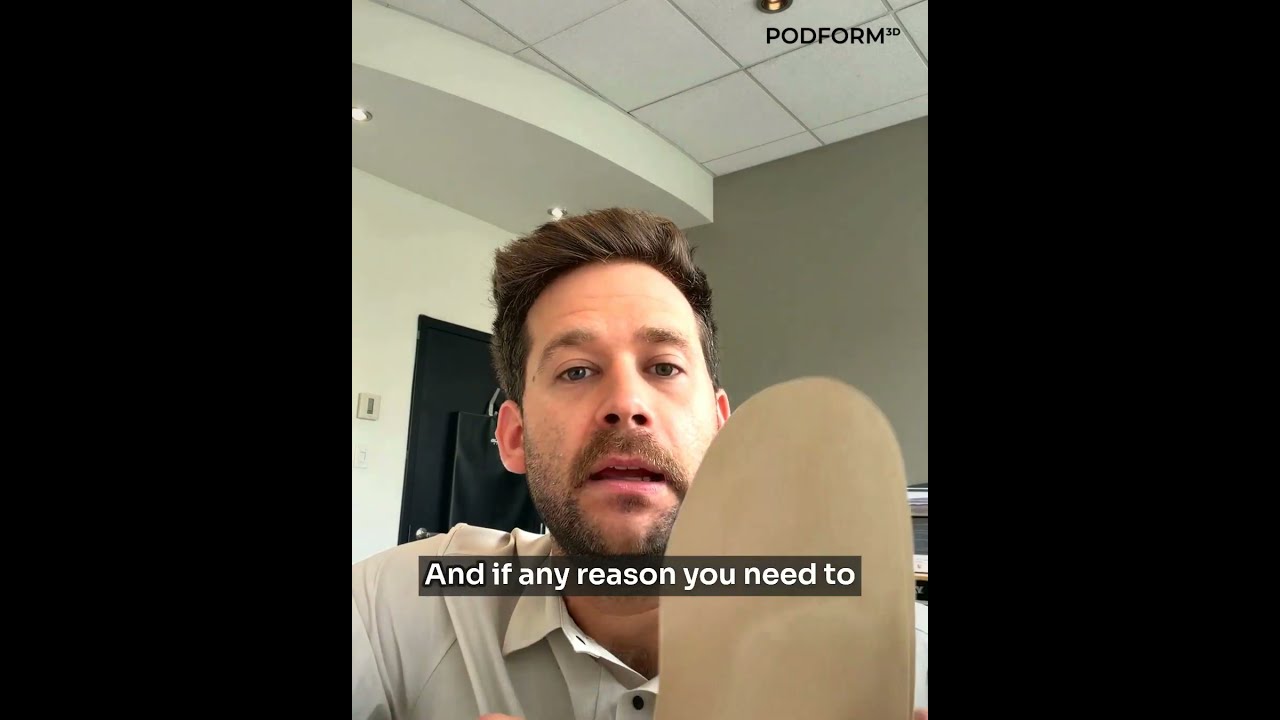
Podform3D orthotics can be ground and sanded with conventional orthotic tools. Physical adjustments can be made during the fitting, while structural changes can be made in the digital design and reprinted when needed.
How long the process takes
In my clinic, a practiced operator can finish a pair in under two minutes. There is no adhesive drying or curing wait in this pre-glued workflow, so the finishing step does not prevent same-day dispensing. Actual time varies with the cover, the operator, and any fitting adjustment.
Expect the first two or three pairs to take longer and look less consistent than the tenth. That short practice period is the main learning curve.
Who can finish the orthotics
The mechanical steps can often be assigned to a trained assistant when local regulations, professional standards, and clinic policy allow it. Assessment, prescription, fitting judgement, and the decision to modify the device remain with the responsible clinician.
Common finishing problems
- An edge lifts. Check for uneven adhesive activation or a shell that was cold when the two surfaces met.
- Air is trapped under the cover. While the materials remain workable, lift the affected area and press again from the center outward.
- The cover was cut too close. Leave a slightly generous overhang on the first pairs, then remove more only if needed.
- The finish takes longer than two minutes. Separate the basic top-cover workflow from patient-specific grinding and allow time for early practice.
Frequently asked questions
Do you need to heat the orthotic after the top cover is applied?
Not routinely. Activate the cover adhesive and lightly warm the shell before contact, then press firmly from the middle outward. Follow the heat instructions for the exact materials you use.
Can 3D-printed orthotics be ground and adjusted?
Yes. Podform3D orthotics can be ground, sanded, and heat-adjusted using the approved procedure for the printed material. Make small changes and recheck the patient fit after each adjustment.
How long does it take to finish a pair of 3D-printed orthotics?
A practiced operator can complete the basic pre-glued top-cover workflow in under two minutes. Early pairs and patient-specific fitting adjustments can take longer.
Do you need special equipment to finish printed orthotics in clinic?
The basic workflow uses a pre-glued, pre-cut top cover, scissors or a suitable knife, and a standard heat gun. A grinder or rotary tool is used only when a fitting adjustment is required.
Can an assistant finish orthotics instead of the clinician?
A trained assistant can often perform the mechanical finishing steps when local rules and clinic policy permit. Clinical assessment, prescription, fitting judgement, and modification decisions remain the clinician's responsibility.