

Belt Calibration Interactive
Center the belt and balance front tension
Open safe access
Remove access parts only if needed. Bring a ruler or caliper, a pencil, and an IPA cloth.
Measure before touching the hardware
Take all 4 readings before you adjust anything.
Loosen the front tension
Loosen both front screws about 4 turns. If the belt stays tight, add 1 or 2 more turns.
Slide the belt in the direction shown by the calculator
Slide the belt left or right while rolling it by hand. Use a pencil under the edge if it sticks.
Run the Roll test and rebalance the front roller
Re-tighten both front screws evenly, run the Roll test, and check for drift or scraping.
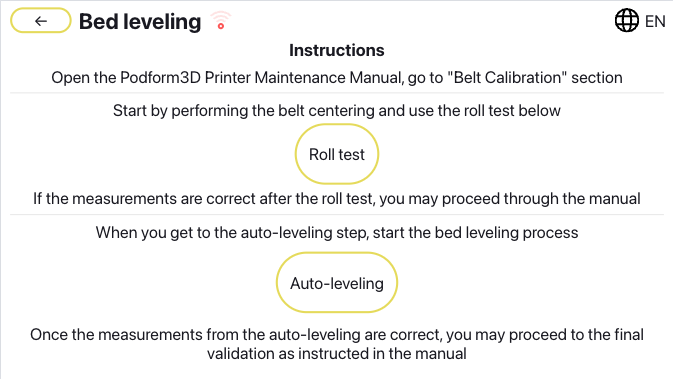
Use the Roll test between centering corrections so you do not assume the path is stable when it is not. Re-measure and repeat
Update the calculator after each pass. Keep all 4 values between 20 mm and 40 mm, with no more than 10 mm left-right difference at the front or rear.
Before you finish
- All 4 corners are inside 30 mm +/- 10 mm.
- The front left-right difference is at or below 10 mm.
- The rear left-right difference is at or below 10 mm.
- Front roller tension feels equal left and right after the Roll test.
Run the 6-point hardware calibration
Run Auto-Leveling and record all 6 values
Run Auto-Leveling and enter p0 to p5 from left to right.
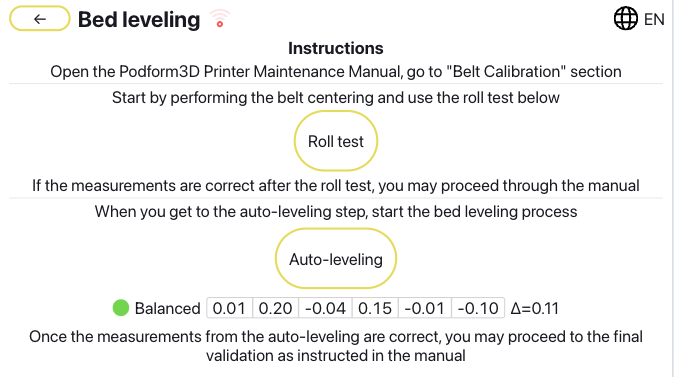
This flow uses the full 6-point mesh. Do not weaken the diagnosis by entering only 5 values. Update the diagnosis only after the full scan is entered
Update the diagnosis only after all 6 values are entered.
If Y gantry tilt is dominant, correct the low side first
If Y gantry tilt is dominant, fix the low side first. Power off, loosen the locks, adjust the low-side inner screw, re-tighten, then rerun Auto-Leveling.
Follow one correction loop at a time
Follow one correction at a time. Rerun Auto-Leveling after each change.
Open the PRE_PRINT check only if needed
Use the PRE_PRINT check only if you already have 3 scans or the normal loop stops improving.
Close the job with final validation
If the diagnosis passes, rerun the Roll test and recheck the 4 corners. If it escalates, stop and document the latest scan.
Before you finish
- All 6 mesh values were entered as one complete scan.
- Y gantry correction was done first when tilt was dominant.
- If the diagnosis passed, the final Roll test and 4-corner recheck stayed stable.
- If the diagnosis escalated, repeated adjustment has been stopped and documented.