

Footnotes
Practical blogs post on digital orthotic workflows, 3D foot scanning, in-clinic printing, and patient delivery.
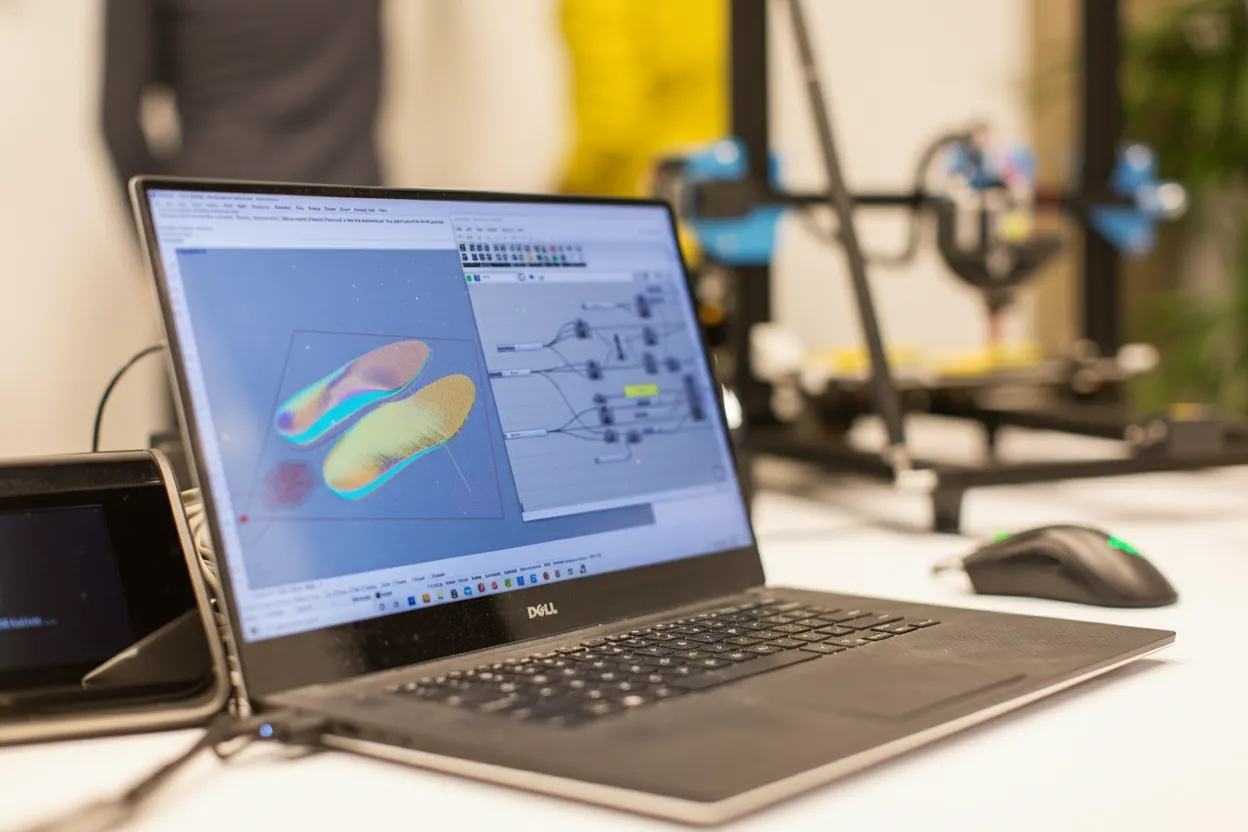 Dose-Based Orthotic TherapyTreat orthotic correction as a clinical dose. Assess patient response, adjust targeted parameters, and reprint without restarting the prescription.Read on this page
  10 Lessons Before Printing Orthotics In-HouseA podiatrist shares ten practical lessons for adopting in-clinic 3D orthotic printing, from staged testing and materials to workflow and vendor questions.Read on this page
  A Repeatable 3D Foot-Scanning TechniqueDr. Antonin Bérubé explains his prone, non-weight-bearing 3D foot-scanning workflow, from patient positioning to a complete 10-second scan.Read on this page
 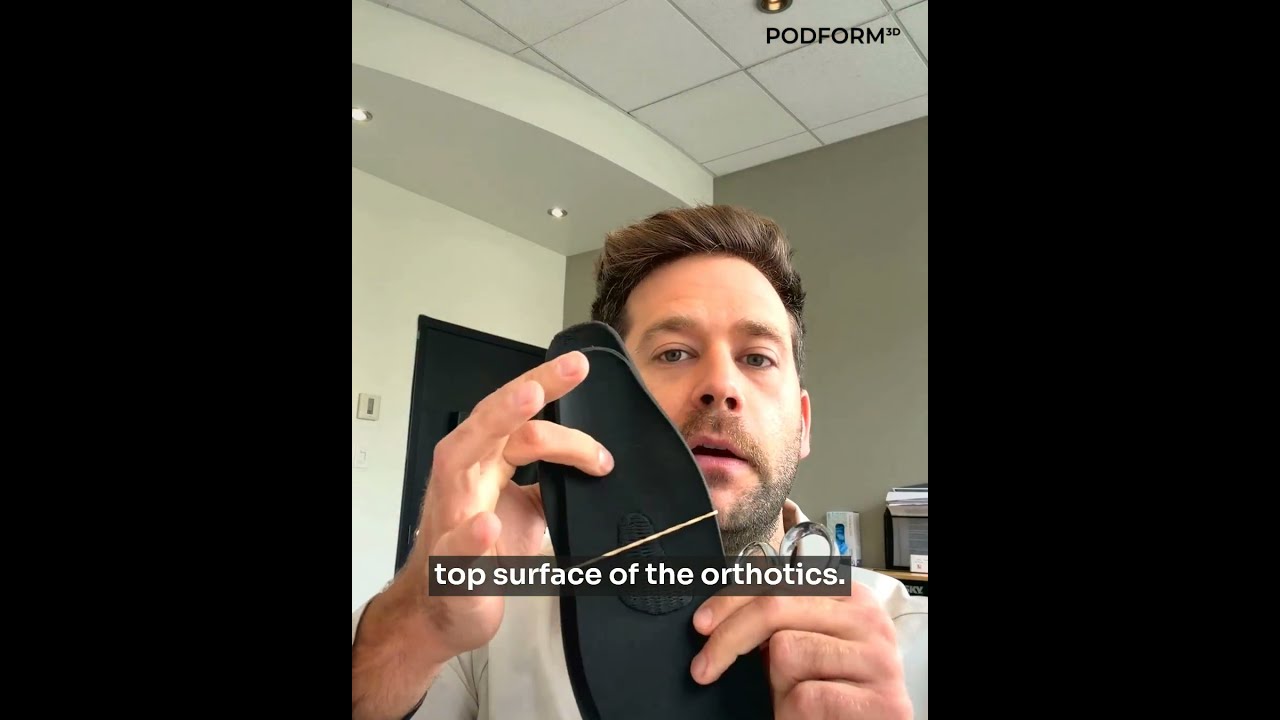 Finish 3D-Printed Orthotics in 2 MinutesHeat the top cover, press it on, cut around the edge, and grind only if needed. Learn the full in-clinic finishing process for 3D-printed orthotics.Read on this page