

Hardware Calibration
Run the 6-point hardware calibration
Run Auto-Leveling and record all 6 values
Run Auto-Leveling and enter p0 to p5 from left to right.
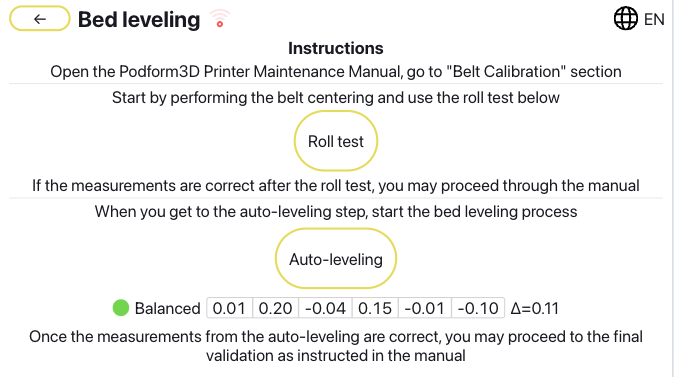
This flow uses the full 6-point mesh. Do not weaken the diagnosis by entering only 5 values. Update the diagnosis only after the full scan is entered
Update the diagnosis only after all 6 values are entered.
If Y gantry tilt is dominant, correct the low side first
If Y gantry tilt is dominant, fix the low side first. Power off, loosen the locks, adjust the low-side inner screw, re-tighten, then rerun Auto-Leveling.
Follow one correction loop at a time
Follow one correction at a time. Rerun Auto-Leveling after each change.
Open the PRE_PRINT check only if needed
Use the PRE_PRINT check only if you already have 3 scans or the normal loop stops improving.
Close the job with final validation
If the diagnosis passes, rerun the Roll test and recheck the 4 corners. If it escalates, stop and document the latest scan.
Before you finish
- All 6 mesh values were entered as one complete scan.
- Y gantry correction was done first when tilt was dominant.
- If the diagnosis passed, the final Roll test and 4-corner recheck stayed stable.
- If the diagnosis escalated, repeated adjustment has been stopped and documented.