

Internet Connectivity
Connect the printer to the network
Open the network settings
On the touchscreen, open Settings and then Network.
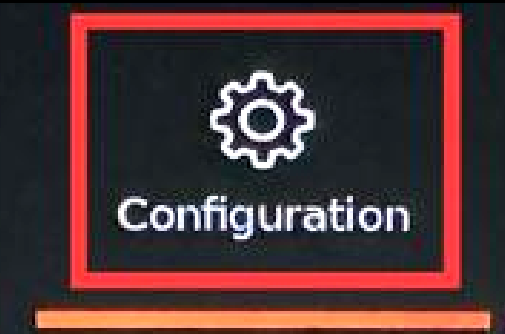
Open the configuration area from the touchscreen using the highlighted gear icon. 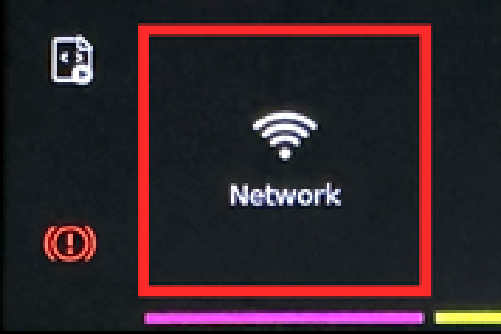
Network settings area used for the local WiFi connection. Connect by WiFi if allowed
Join the clinic or lab network. Avoid guest networks and hotspots.
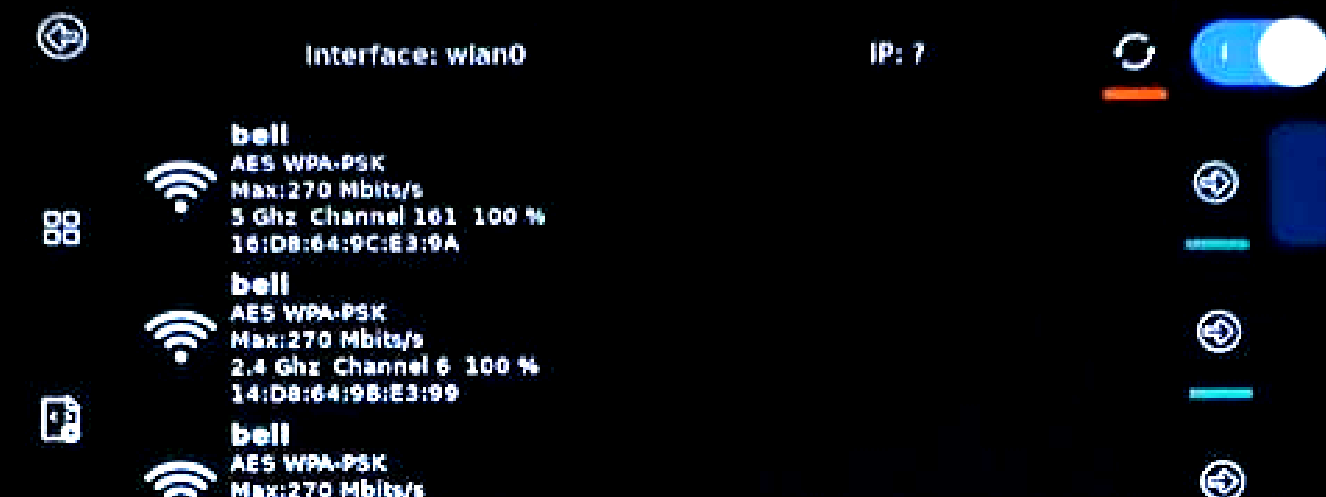
WiFi network list used to select the correct SSID. 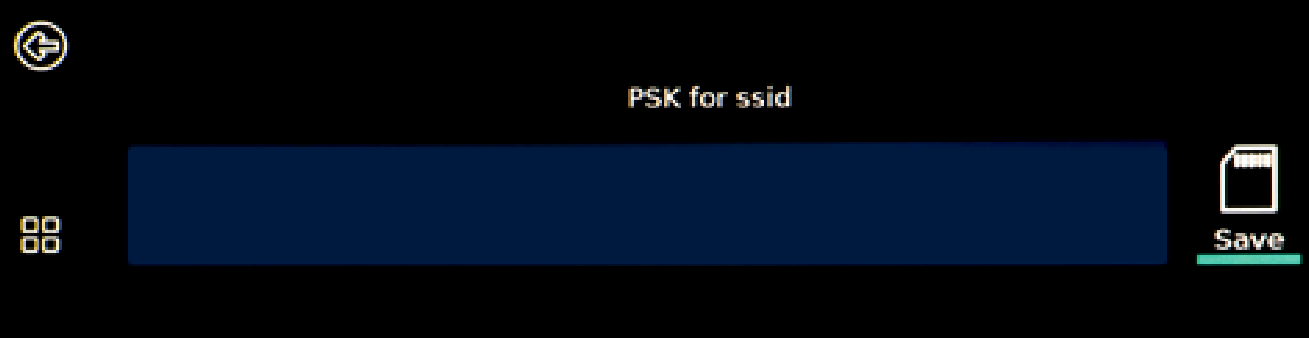
Password entry step on the touchscreen. 
Status banner shown while the printer is starting WiFi association. If WiFi blocks the printer, involve the network admin
If WiFi fails, ask the network admin or switch to Ethernet.
Use Ethernet for the most reliable connection
Use Ethernet when you want the most stable setup.
Before you finish
- The printer is powered on.
- A connection path has been chosen. WiFi or Ethernet.
- If WiFi is used, the correct SSID and password are entered.
- The network screen no longer looks disconnected.
Confirm the IP address and browser access
Wait for the IP address to appear
Wait for the printer to show a usable IP address.

Network view before the IPv4 address is populated. Write the IP address down
Write the IP down. You will need it for onboarding and support.
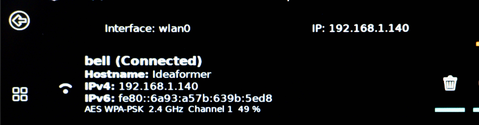
Reference for the visible IPv4 address once the printer is connected. Open the IP in a browser on the same network
Open the IP in a browser on the same network. If Fluidd does not load, re-check the network connection.
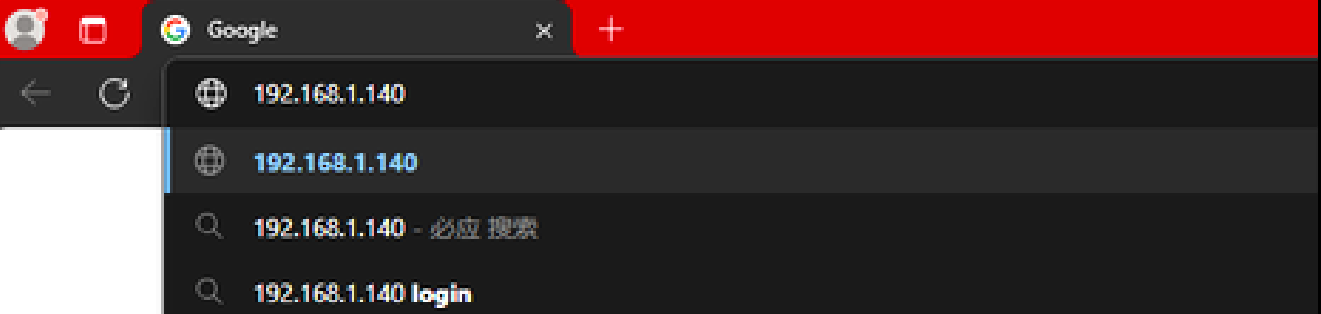
Browser reference showing the printer IP typed into the address bar. 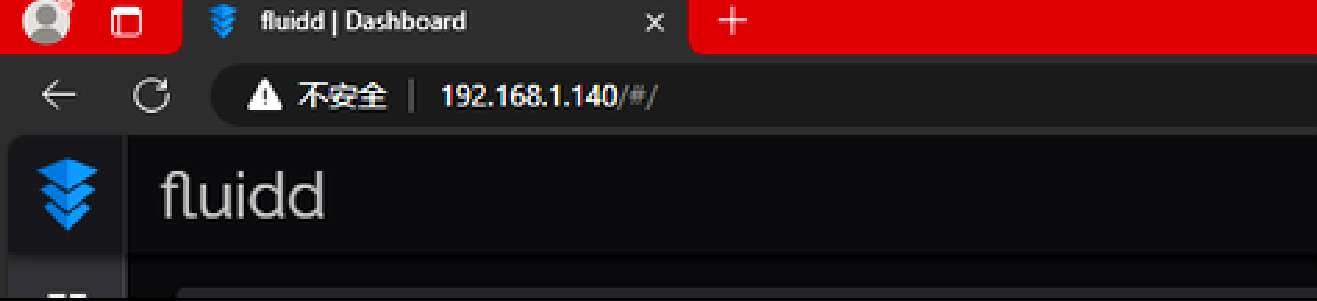
Fluidd dashboard success state used as the local setup finish condition.
Before you finish
- An IP address is visible on the printer.
- That address has been written down with a pen or pencil.
- Fluidd opens in a browser on the same local network.