

Linking Portal to Printer
Pair the printer to the portal
Paste both values exactly. A wrong activation code or wrong IP address will block pairing. Copy and paste both fields when possible.
Open the printer menu
Go to the printer area in the Podform3D portal and choose Add new printer.
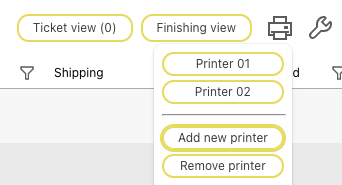
Portal printer menu with the Add new printer action. Choose the correct installer and copy the code
In the Add printer window, click the macOS or Windows version that matches the computer you are using. The highlighted option is usually the right one. Then click Copy to save the printer activation code. You will paste that same code into the installer later.
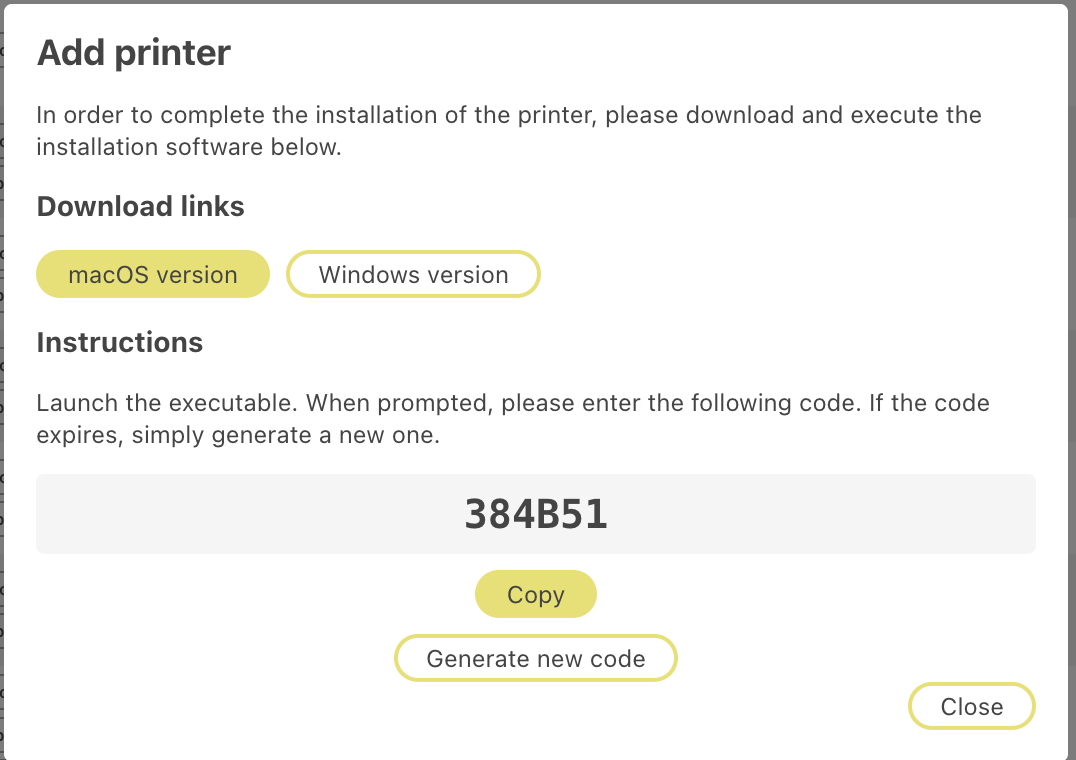
Choose the installer for this computer, then copy the activation code before leaving the portal. Wait for the installer package to finish downloading
Let the installer package finish downloading to the computer. Do not open it until the file is fully downloaded and visible in Downloads.
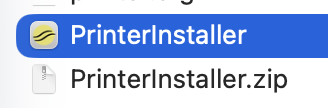
Expected download result before opening the installer. Open the downloaded installer
Open the installer package from Downloads. On macOS, PrinterInstaller opens a Terminal window. Terminal is the text window where the installer asks for the printer details and sends them to the printer. If macOS asks whether you want to open the file, approve it.
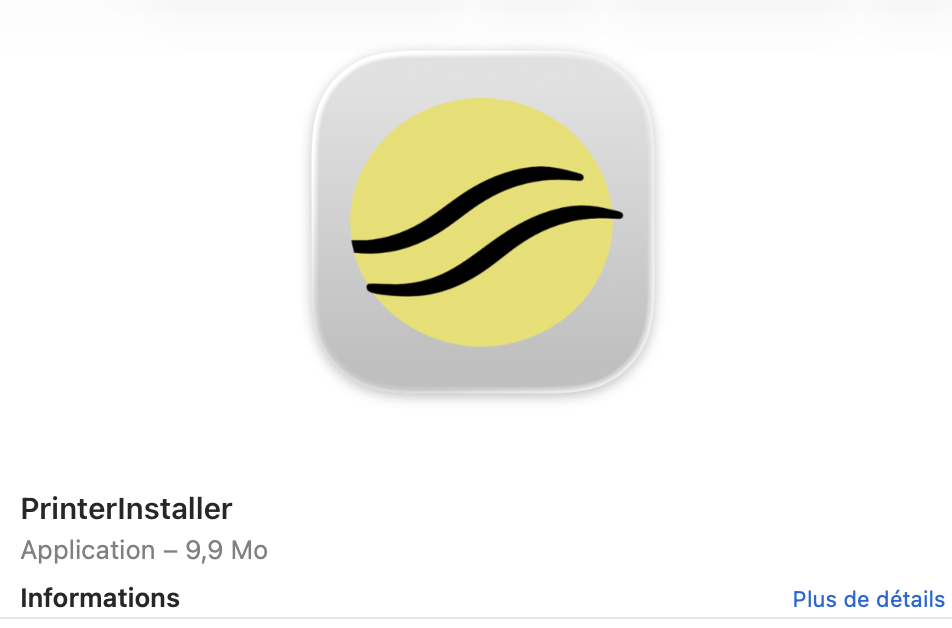
Confirm the app identity before opening it. Paste the activation code
When Terminal asks for the printer activation code, paste the code you copied from the portal and press Enter.
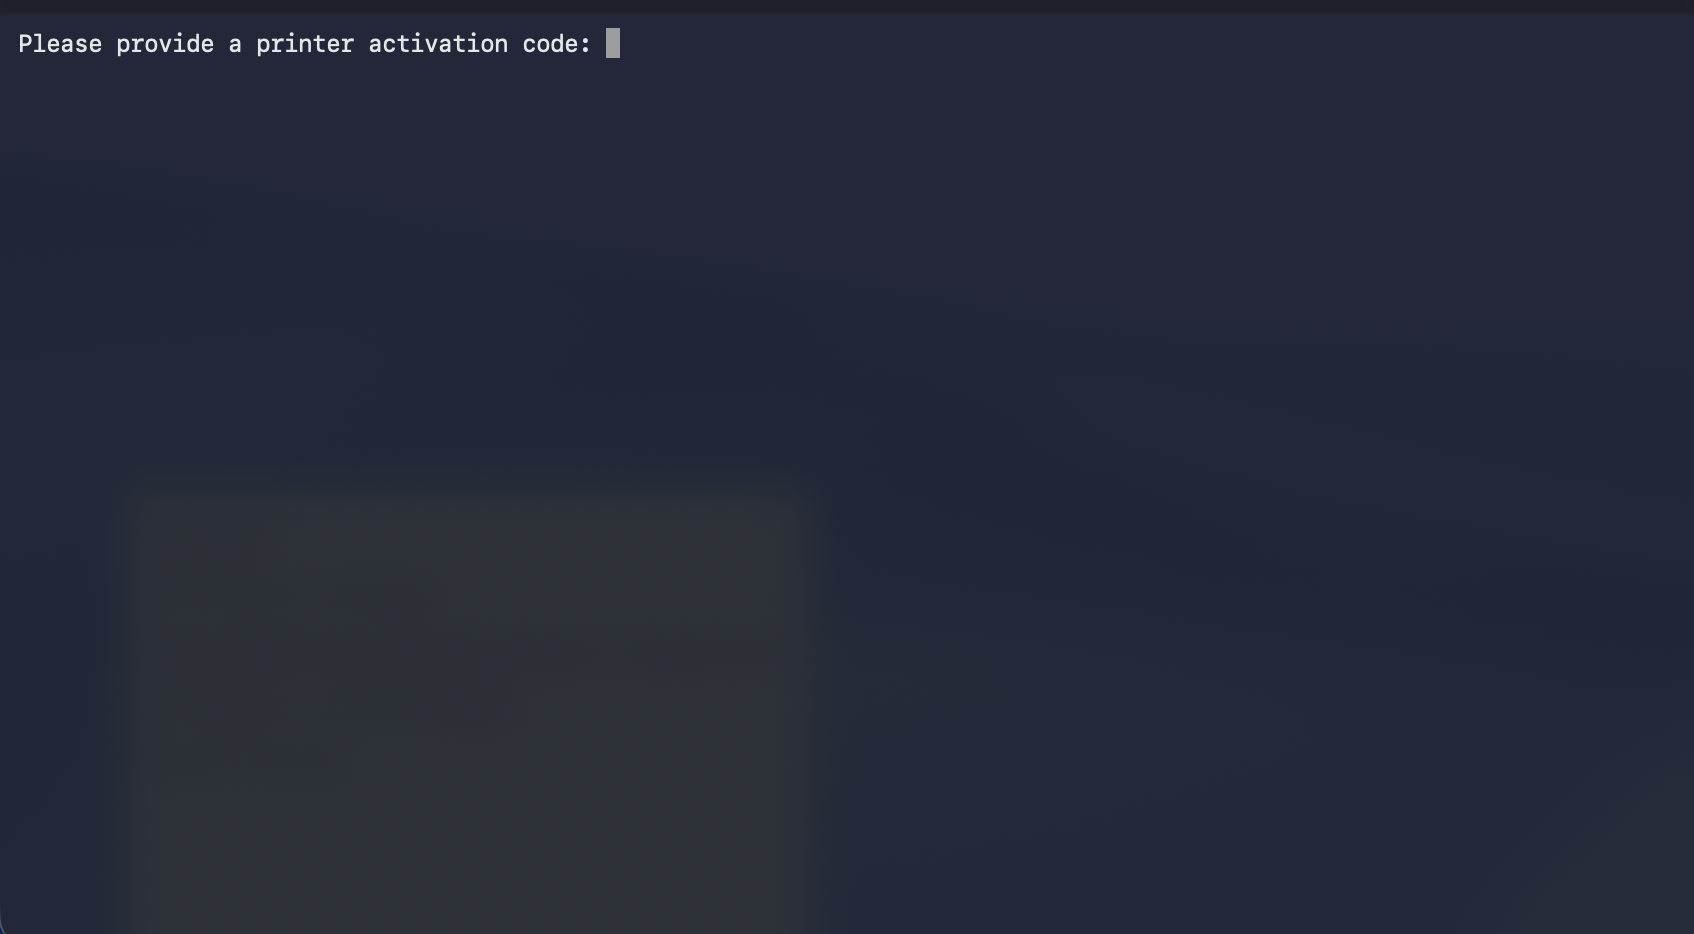
Paste the copied activation code into Terminal and press Enter. Paste the printer IP address
When Terminal asks for the printer IP address, enter the IP exactly as it appears on the printer screen, then press Enter.
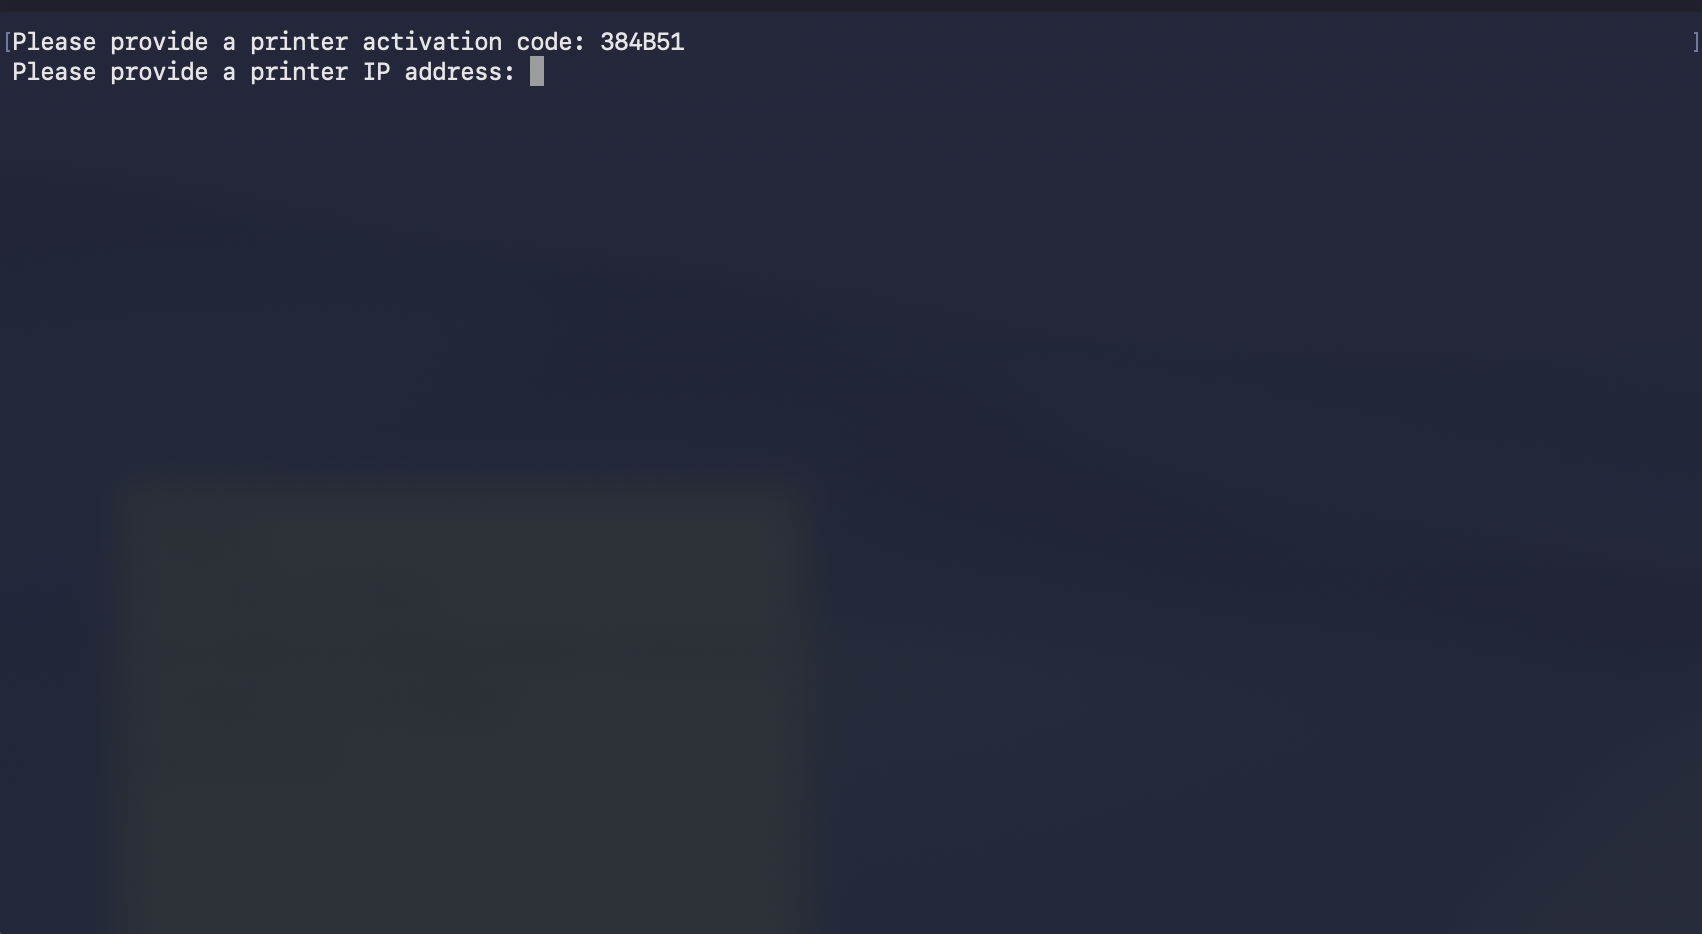
After the activation code is accepted, enter the printer IP address exactly as shown on the printer. If you forgot the IP, go back to the printer network screen
Return to Internet Connectivity and read the IPv4 address from the printer again. Use the exact IP shown on the printer. Do not guess it.
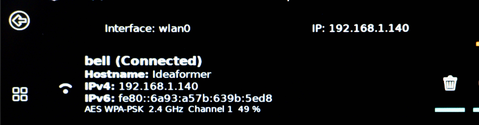
If needed, go back to the earlier network step and copy the IPv4 address from the printer screen. Close Terminal when pairing is done
When the installer is finished, you can close Terminal. The printer is paired at this point.
Refresh the portal and confirm the new printer
Refresh the portal. The new printer should appear as Printer 01 if it is your first printer, or Printer 02 if it is your second printer. You can delete the installer package from Downloads after pairing.
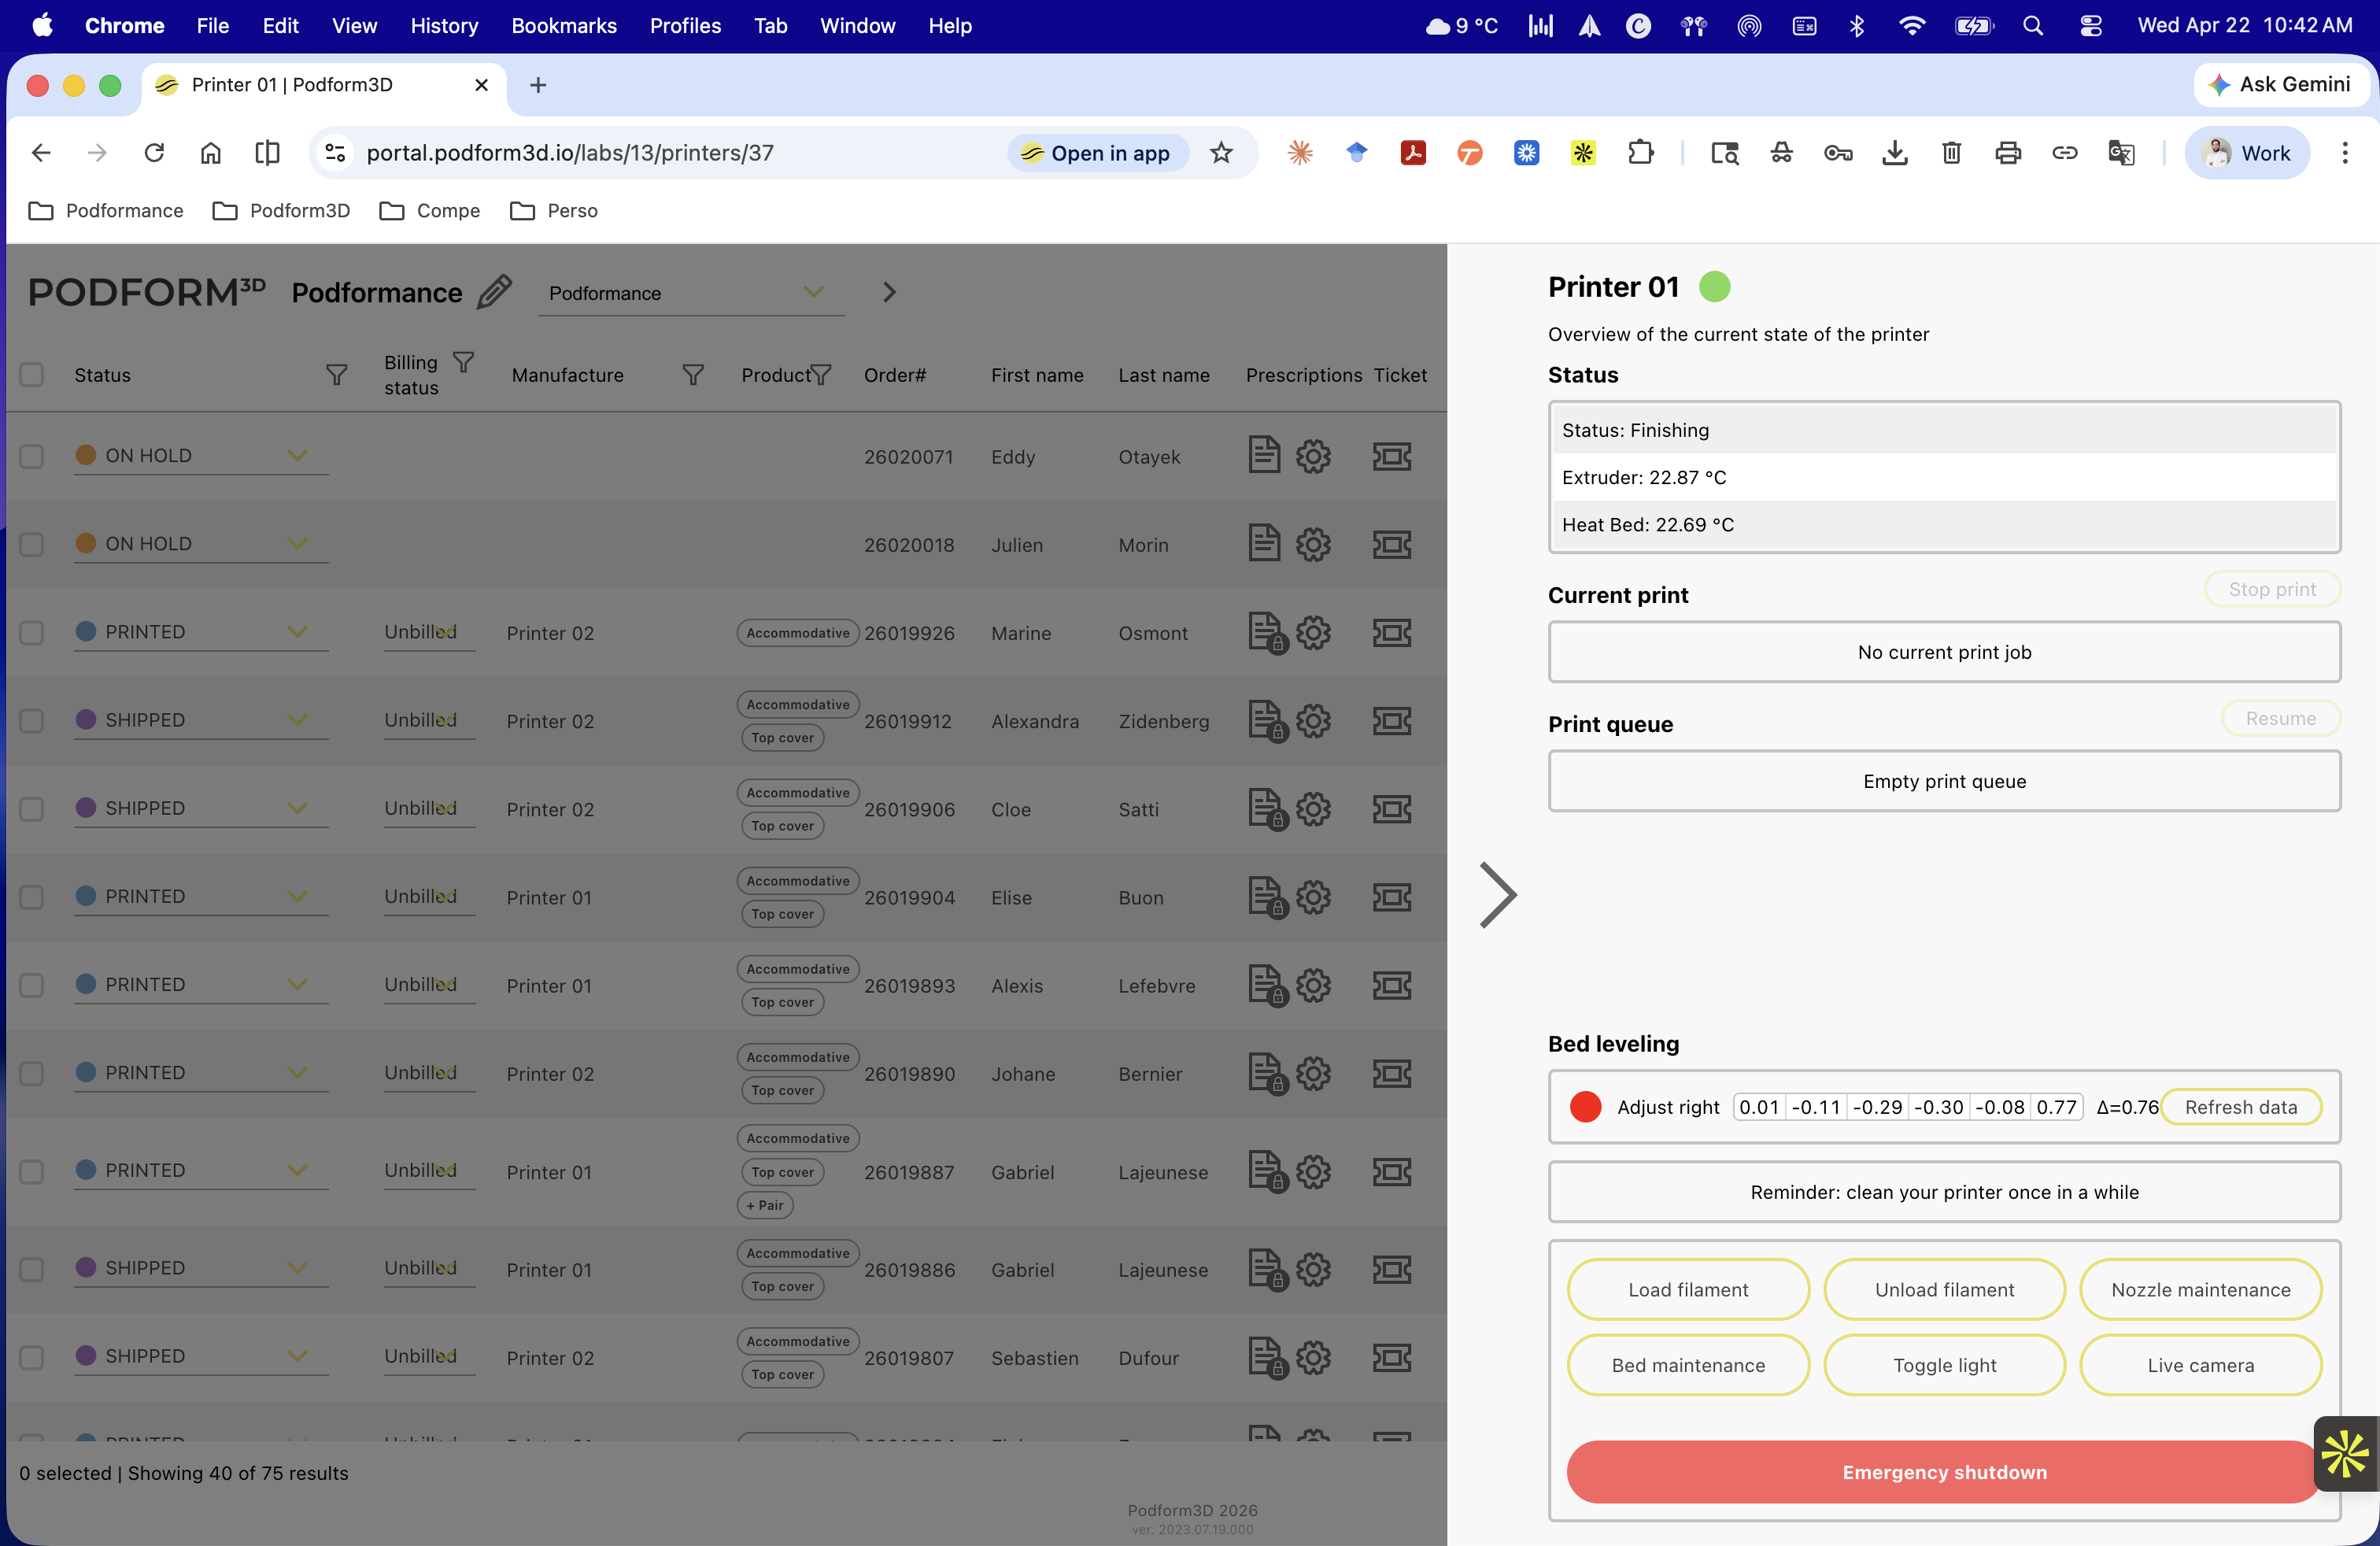
Portal success state after pairing, with the new printer visible and the side panel open. Open the printer side panel
Click the printer name to open the side panel. Use this panel to view status and control that specific printer.
Click the printer entry to open the control panel for that printer.
Before you finish
- The portal printer menu is located.
- The correct macOS or Windows installer is selected.
- The activation code is copied.
- The installer package is downloaded.
- The installer opened in Terminal.
- The activation code was pasted.
- The printer IP address was entered.
- The operator knows where to find the IP again if needed.
- Terminal can be closed.
- The portal was refreshed.
- The new printer is visible in the list.
- The printer side panel opens.